
DIGITAL GOUACHE - STEP BY STEP painting process
Hello everyone!
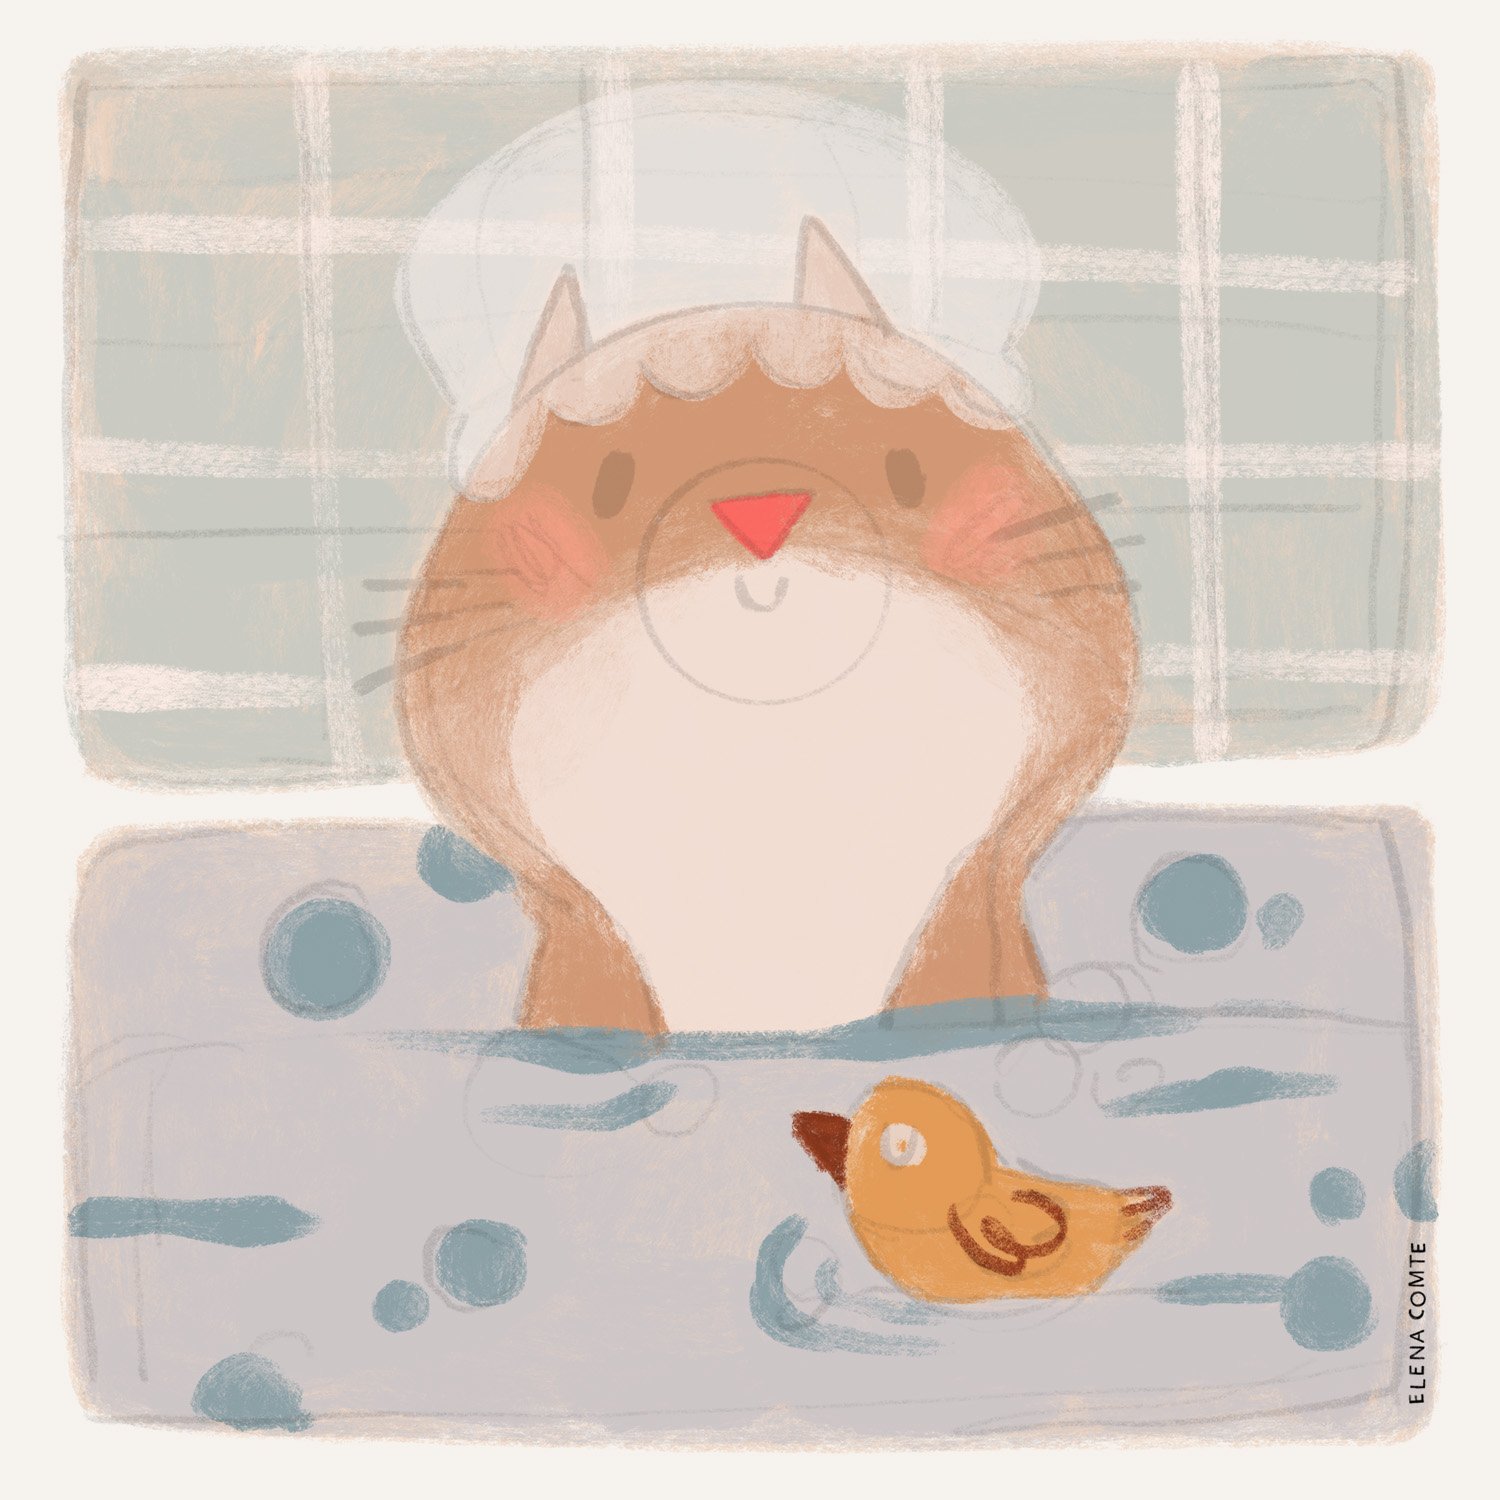
Today, I am sharing my process on how I made this digital gouache illustration. I invite you to try my methods and techniques for yourself.
MATERIAL
I am drawing on the iPad Pro 12.9 inches (5th generation) and I use the Apple Pencil. I use the Procreate app.
SKETCHING
I opened a new canvas at 300dpi, 3000 x 3000 pixels, RGB color mode. I set the background color to this one: #f6f2ed Then I sketched the cat very roughly and did not make the sketch more refined as I wanted to retain some looseness to my painting. I used pure black and the 6B pencil included in Procreate (Sketching brushes panel). The size of the brush was set at 38%.

UNDERPAINTING
Then I lowered the opacity of the sketch layer to about 12% and added a new layer underneath this one. I started by painting the underpainting in light tan pink color number #f6f2ed. I used Max Ulichney brush called MaxU Gouache Gritty Bold Glaze from his MaxPack Gouache Set. The size of the brush was set at 75%, 100% opacity. I released the pressure on my brush when closer to the edges to make the texture more visible. For the underpainting, you can use bright color as well, it makes the illustration more vibrant! Try a red or a yellow for example.

BUILDING UP THE LAYERS
Then I continued painting with the same brush but made the size smaller at 20%. For the water, I used a desaturated purple (#cec7c8) and for the wall a grey (#cacbc3). Have a look here at how the underpainting makes everything bind together already!


Moving forward, I painted the stripes on the wall with this light pink: #faeae3 and the duck with this yellow ochre: #e39b57.

After that I painted the white fur on the cat with this color: #f1ddd2, the details on the duck with this brown #944024 and the cat’s cheeks with this pink: #f8af9b.

Continuing like that, I painted the fur with this nutty brown: #d19875, the nose with this bright pink #fa6961 and the waves with this blue green color: #8ca1a7. For the hat I used #f4ece9 color and lowered the layer opacity to 62%.
I colored the eyes in pure black with the 6B pencil I used for sketching.

LAST DETAILS
For the last details like the stripes on the hat (#f1b297), the whiskers (#3a190c), the round muzzle (#944024) and the bubbles on the water (#678c90), I used MaxU Gouache Toothy Square. Here is the final illustration, then with the sketch layer hidden!


PAPER TEXTURES
To make the painting come alive, I added different kind of paper textures on top of the illustration, some in multiply and some in overlay filter mode. I have scanned many paper textures for myself and have bought some as well. Just try out different options to find the ones that fits your art the most. You can also find some textures for free on the website Unsplash.

Let me know if you found that useful and if you have any questions!
